
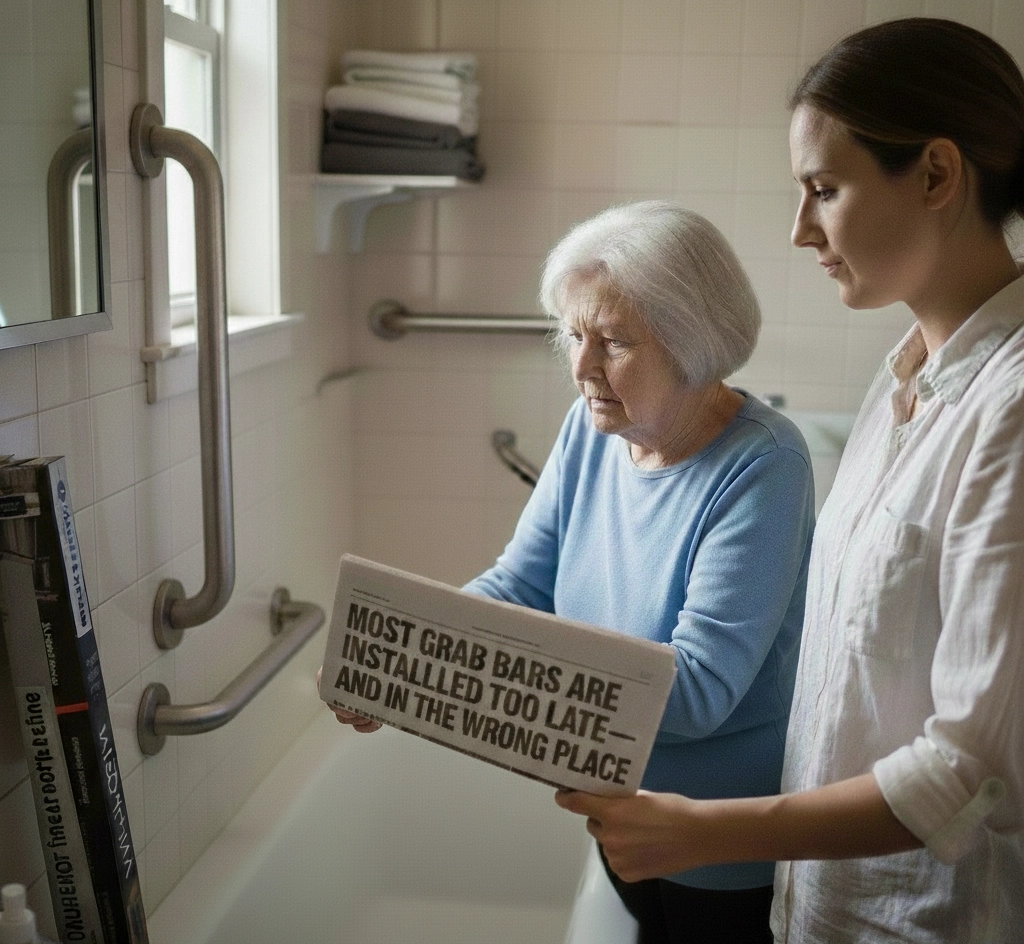
Most homeowners treat grab bars like a fire extinguisher: something you buy only after the smoke starts clearing. That is a dangerous mistake. Waiting for a "close call" or a minor slip to trigger a safety upgrade means you are already operating from a position of injury.
For our Silver & Gold seniors, safety isn't about adding "hardware"; it’s about architecting a home that lasts a lifetime. If you think "bolting a bar to the wall" is the first step, you’re missing the strategy required for true independence.
Here are the three non-negotiable steps you must take before a single drill bit touches your tile.
1. Stop Guessing at Stud Locations (And Start Reinforcing)
The biggest myth in home safety is that a standard wall can handle a sudden, high-velocity fall. It can't. A grab bar is only as strong as what's behind it.
- The Reality: Standard drywall or older tile won't hold under the 250+ lbs of force generated during a slip.
- The Action: You must verify structural blocking. If your studs aren't positioned exactly where you need support—which they rarely are—you need professional reinforcement or specialized anchors.
- Case in Point: We recently saw a DIY install where the bar pulled clean out of the plaster during a routine exit from the tub. The homeowner didn't just need a bar; they now needed a wall repair and a craftsman who understood load-bearing mechanics.
2. Map the "Critical Path" of Your Movement
Seniors often install a single bar near the shower controls and call it a day. This is incomplete. Safety is a journey, not a destination.
- The Hook: Most slips happen entering or exiting the wet zone, or during the transition from sitting to standing.
- The Action: Walk through your routine with a professional. Where do you naturally reach for balance? That is where the bar goes. Often, the most critical bar is actually a vertical "entry" pole or a horizontal bar near the toilet—not just the shower.
- Outcome: A "Safe Path" that provides continuous points of contact from the bathroom door to the shower seat.
3. Choose Grip Texture Over Polished Aesthetics
Chrome looks great in a magazine. In a wet, soapy hand, chrome is a skating rink.
- The Professional Truth: Highly polished bars are a liability masquerading as a feature.
- The Action: Specifically select "peeled," knurled, or textured finishes. These provide the friction necessary for a secure grip even when your hands are covered in soap or oil.
- The Transformation: You shift from having a "towel bar" you hope will hold, to a dedicated safety tool that provides immediate, tactile confidence.
Don't wait for the slip to prove you need a safer home.
Your home should be your sanctuary, not a series of hazards waiting to happen. At HandyPro, we don't just "handyman" your bathroom; we provide a total modification solution.
Your Next Step: Stop wondering if your bathroom is safe. [Schedule Your Free Home Safety Check] with a Certified Aging-in-Place Specialist today and get a blueprint for a home that lasts a lifetime.

.jpg)
.jpg)